
Simple Shading Tool Guide
Create a Simple plan
When you start shading you wanna try focus making a general basic of the skin or outfit. In my experience is to put random base to make actually fit match the vibe and original idea. So for example one of my fav ones is Cherry-Jeans I made How I made it was putting random base first

Take 33-66% random colour saturation that you wanna make basic of. It is important it is not too screamy and light so you can later add actually appropriate shades, it doesn’t have to be very saturated as tone will look too screamy.
(Always have a tailoring base or mannequin you use for tailoring - makes it 5 times easier to create fits. In my case i use a base of my character that was made by our beloved Tailor Blannet - Soi is literal masterpiece <3)

As I making this live I will make it quick - select pattens of opposed colour tones, make darker lighter. You can reverse it until you find that one tone you like, when you have it try to imagine a pattern for shadings you will make

Fix the colour tones and play with the initial basic, until you get wanted result
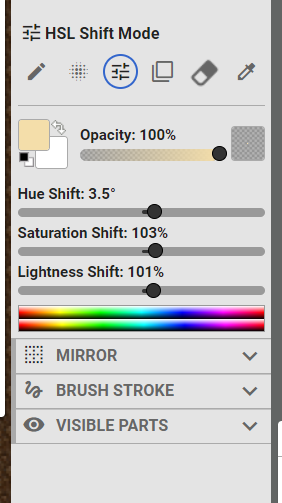
Your main shading friend will be this section

Using it you can play with darkness / lightness / fruitiness / colour contrast of your chosen clothing base:

Dark/Light - Lightness Shift (always keep it from 2-4% different - if it will be bigger percentage it will look really messy, nevertheless, you can stack it on top adding the selected tone)

Saturation - Fruity Tool / helps your colour play along with the clothing tone either stronger or weaker. This rl depends on your practice on how to use it.
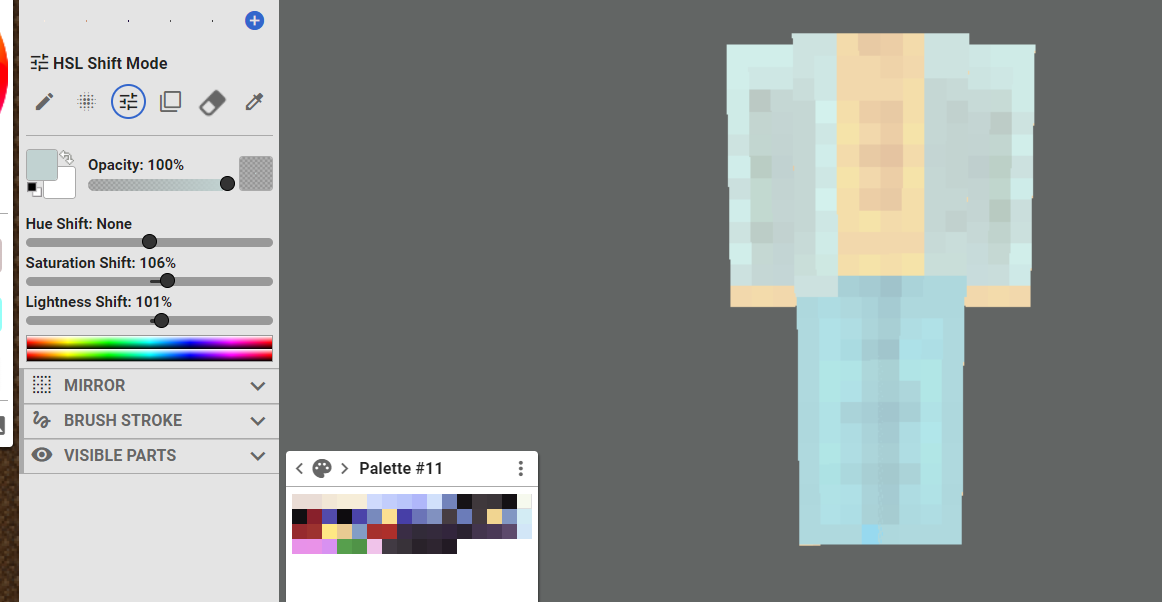
Hue Shift - The contrast that will give your clothing a pattern accent. This is rl the last section you should touch when it comes to shading if you want to add different colour tones. Keep it 2-4% contrasted as well at most.

When it comes to decorative parts of clothing always keep it at last when you have your original clothing texture ready, it will be less fuss and give more organization to the shade.
You can create variety of outfits using this method, the only thing is practice with the tool. More you play with it, the better feeling you will get - it’s same like driving a car. You have to do it and repeat it over and over. It took me 4 months of time-to-time shading before i improved, then another 3 before I went to another level. Don’t start by splashing a variety of colours in one, begin with an easy formats before going to more complex ones.
Remember
HSL Shift Mode is what will allow you to create the shading pattern you want. There are mirroring tools, you can use them as well - but because you are only beginning to tailor in SRP take it easy and don’t overload yourself - you will get burnout and give up rl quick.
Shading in SRP is time-consuming thing when you come to the field as newbie. You gotta make it, see it, adjust it and see again before calling it good. Trust the making process.
I hope this will help any upcoming tailors who wanna learn to shade using this mechanic, even if not, I am glad I was able to give small guide on how to use system that helped me to make my fits.
I am sure if you want to learn shading for your leisure time purposes you can do it! Good luck :)
P.S.
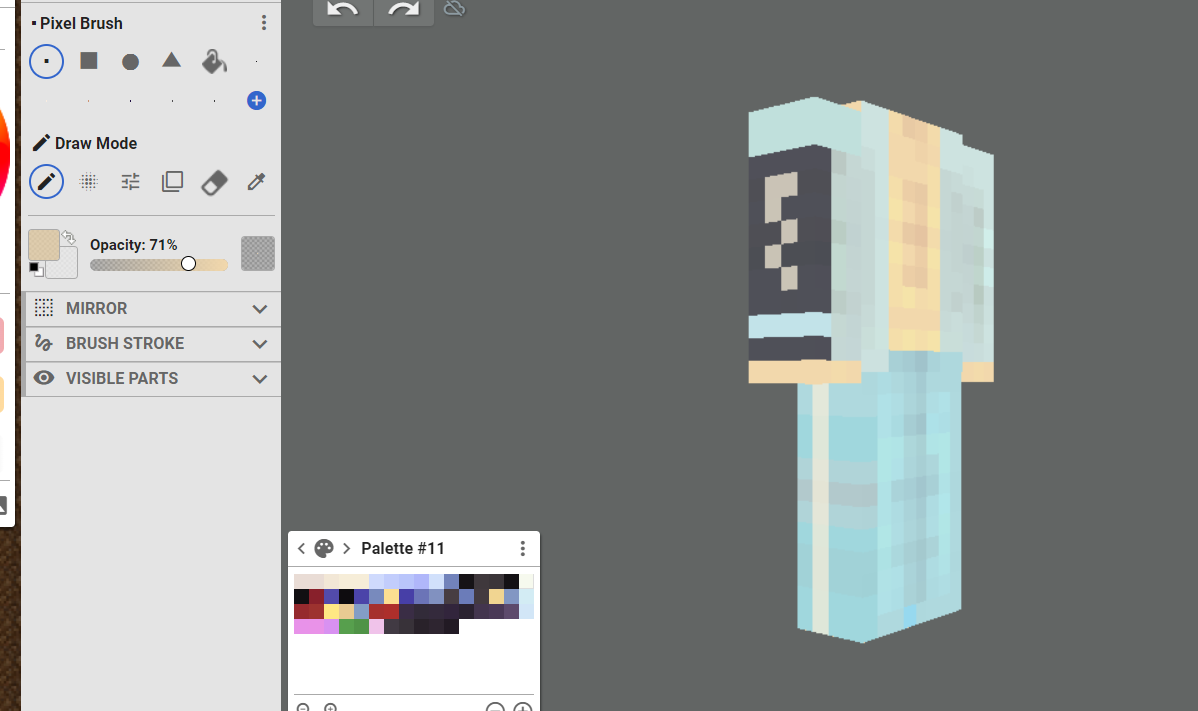
Some of my thrift examples that were auctioned in Misfits when I was part of it. I made em using this method for the record
Last edited:
